A Guide To Baking Dairy-Free Bread
We know following a dairy-free diet can seem a little restricting, but thankfully, it doesn't mean that you have to give up the joys of having bread.
That’s because, if you haven't heard of it, dairy-free bread is a great alternative to conventional bread.
So, don't worry! Your beautiful rustic bread box won't go to waste.
Keep reading to learn more about baking dairy-free bread.
Note Down The Ingredients You’ll Need
Surprisingly, only six ingredients are required to prepare our delectable dairy-free bread.
That's right, only six!
So, hurry up and stock up on the following simple ingredients:
- 2 ½ cups all-purpose flour
- 2 teaspoons instant yeast
- 1 ½ teaspoon salt
- 1 cup water
- 3 tablespoon oil
- 2 tablespoon molasses
The Step-by-Step Procedure To Baking Dairy
Preheat
We cannot emphasize this enough: preheat your oven for bread!
Preheat the oven to 350°F. This loaf is baked at a lower temperature (350°F), so preheating it won't take long (usually 15 minutes will do).
Mix
Begin by combining the dry ingredients. Stir together the water, oil, and molasses in a small bowl.
In a separate bowl, mix flour, yeast, and salt. Then combine the dry and wet ingredients.
Knead, Knead, Knead!
Knead your dough for approximately 15 minutes if you're doing it by hand and 7-8 minutes if you're using a stand mixer.
The dough should have a tacky feel, but it should not stick to your hands or tear when stretched.
Rest
Allow the dough to rest until it has doubled in size. In most cases, 1 hour and 30 minutes will suffice. In the winter, you may require two hours of rest.
Always keep the dough covered and in a warm place. If you prefer, you can store it in an airtight bread container.
Roll Out And Shape The Dough
Spread the dough in a square form using your hands or a rolling pin. Then, shape the dough into a ball.
Next, place it in a loaf pan with parchment paper on the bottom and let it sit for an hour to rise or until it has doubled in size.
Bake
Finally, on to baking!
Bake the bread for 30–35 minutes until the top is golden brown. Remember to cool the bread for at least 1 hour before slicing it.
Wait for it to be done; your kitchen will smell heavenly!
Simple, wasn't it? That's all you need to do to make this tasty dairy-free bread.
So, try out the recipe and enjoy the sight of the delicious bread on your new countertop bread box before your family devours it all.
Alternate Ingredients For A Dairy-Free Version Of Your Favorite Bread Recipe
There’s not just one way you can make dairy-free bread. In fact, you have multiple dairy-free substitutes to choose from to bake your bread like you want to.
Here are some of the common substitutes:
1. Milk
You may substitute your preferred non-dairy milk for milk in most recipes.
The secret is to choose an unflavored, unsweetened version. Soy, almond, and rice milk are all good choices because of their neutral taste.
Trust us, you wouldn't be able to tell the difference!
2. Butter
To replace butter, you may use either oil or vegan butter.
The ingredient to use depends on the amount of butter in your recipe. For sandwich bread and other recipes that call for just a few tablespoons of butter, you can use an equal amount of vegetable oil.
For enriched dough that calls for a large amount of butter, use vegan butter.
[Tip: If you are extra like us, you may want to invest in a bread and butter box to store your vegan butter]
3. Sour cream, yogurt, or cream cheese
Generally, soy yogurt is the tangiest non-dairy yogurt, making it the best sour cream substitute.
Yogurt can also be used in place of cream cheese; simply leave 1 to 2 tablespoons of liquid out of the recipe.
Bonus points if you can get your hands on dairy-free cream cheese. It does exist, and it is increasingly gaining popularity.
Store Your Bread Properly
Keep in mind, unlike commercial bread that has preservatives, homemade bread will become stale much faster!
The last thing you want is for your dairy-free bread to go stale after you've worked so hard to bake it.
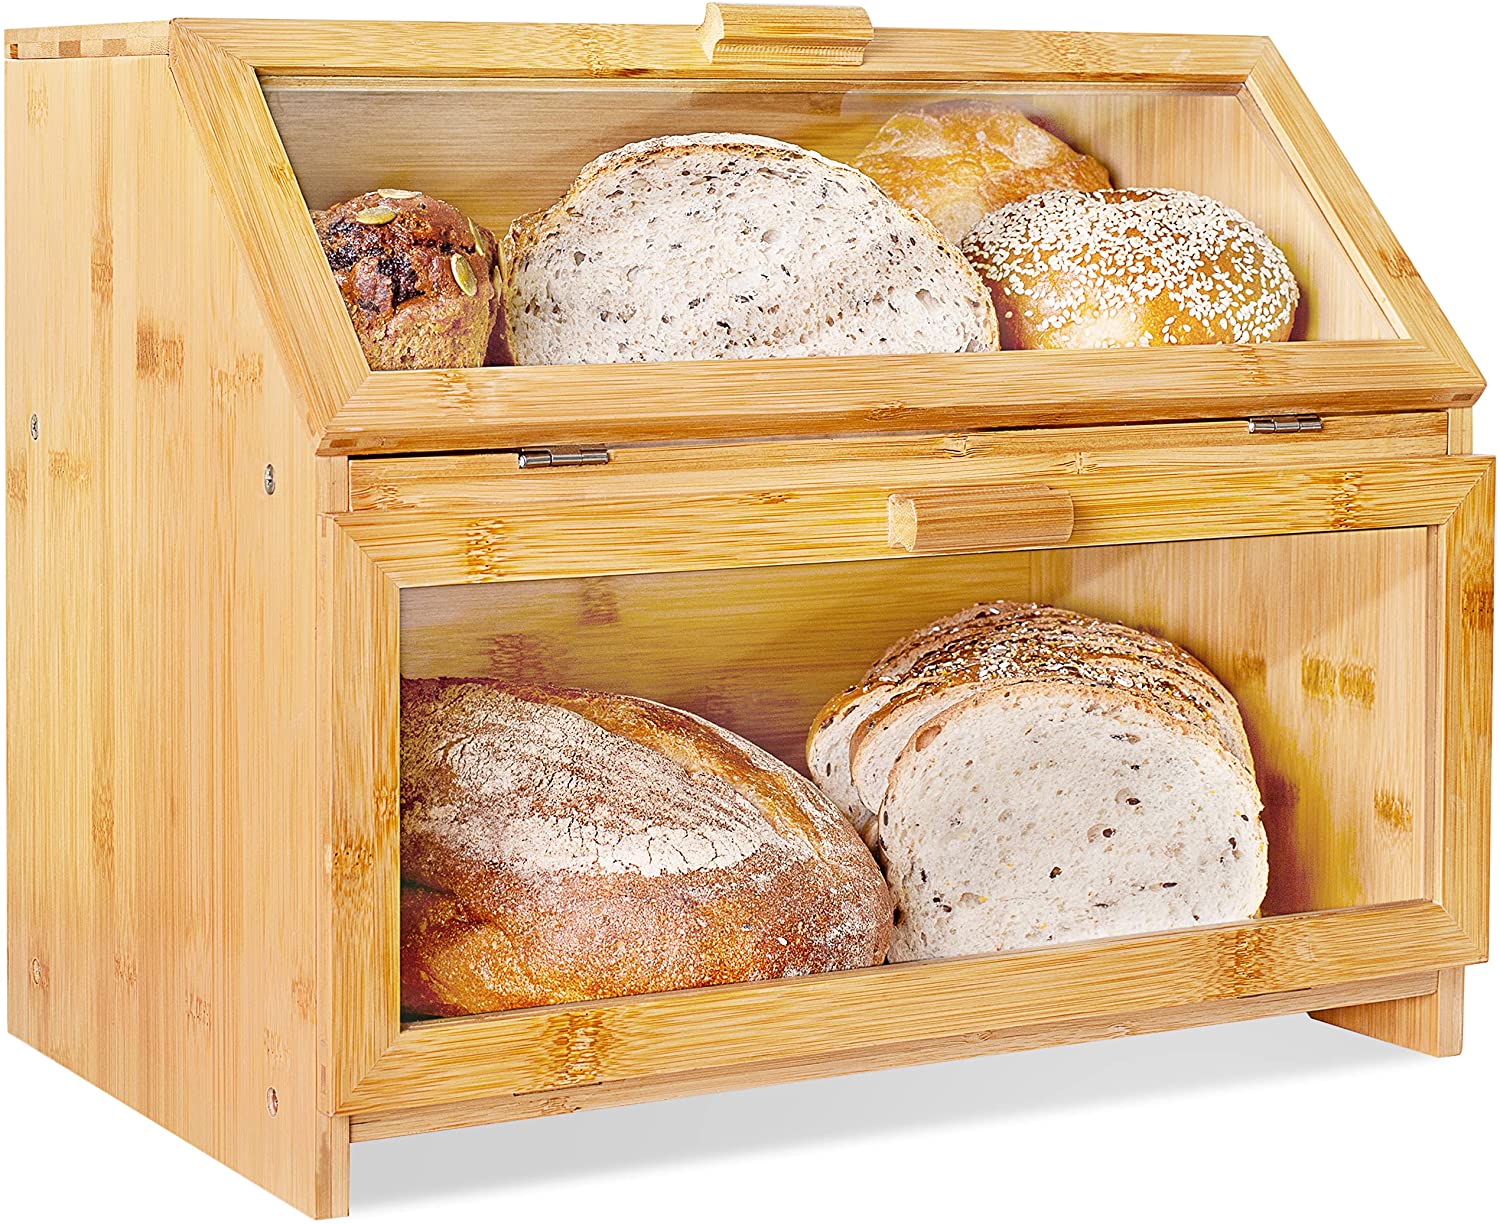
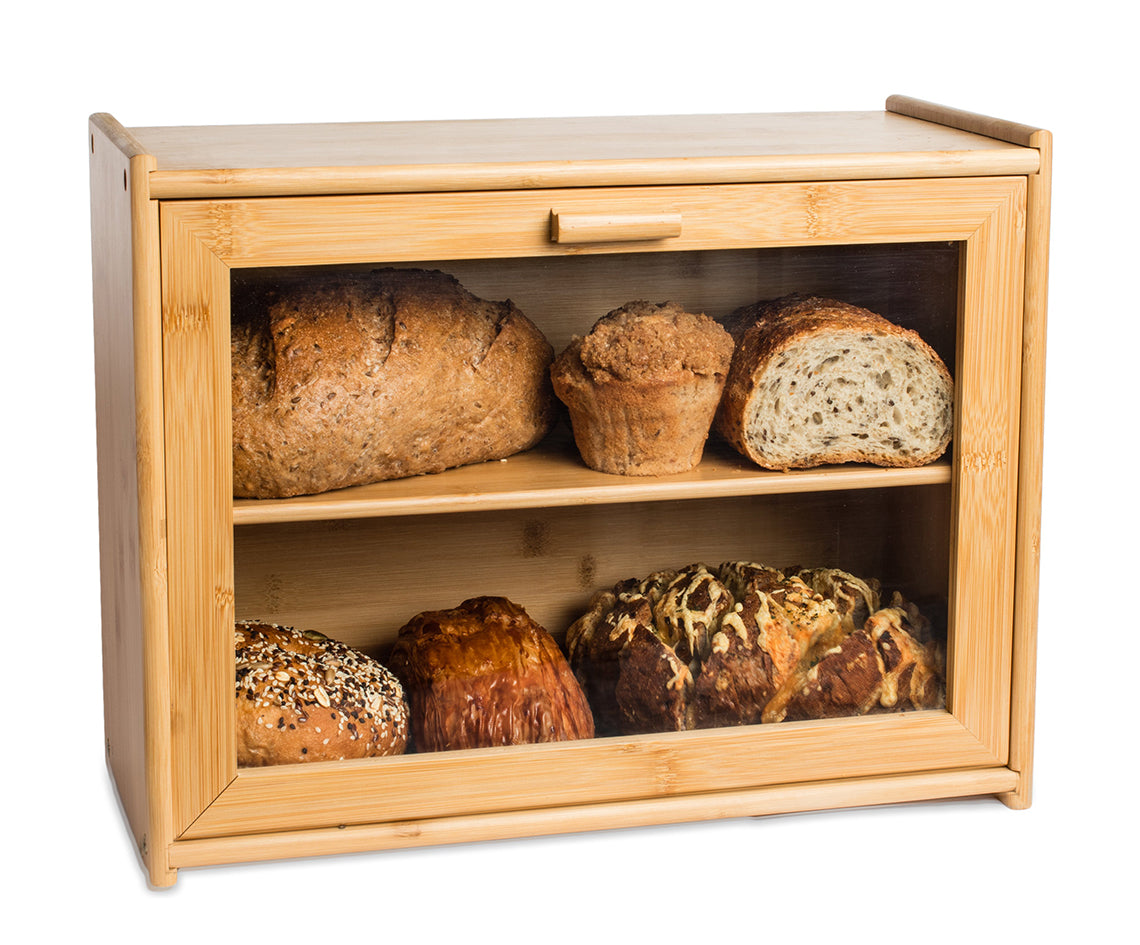
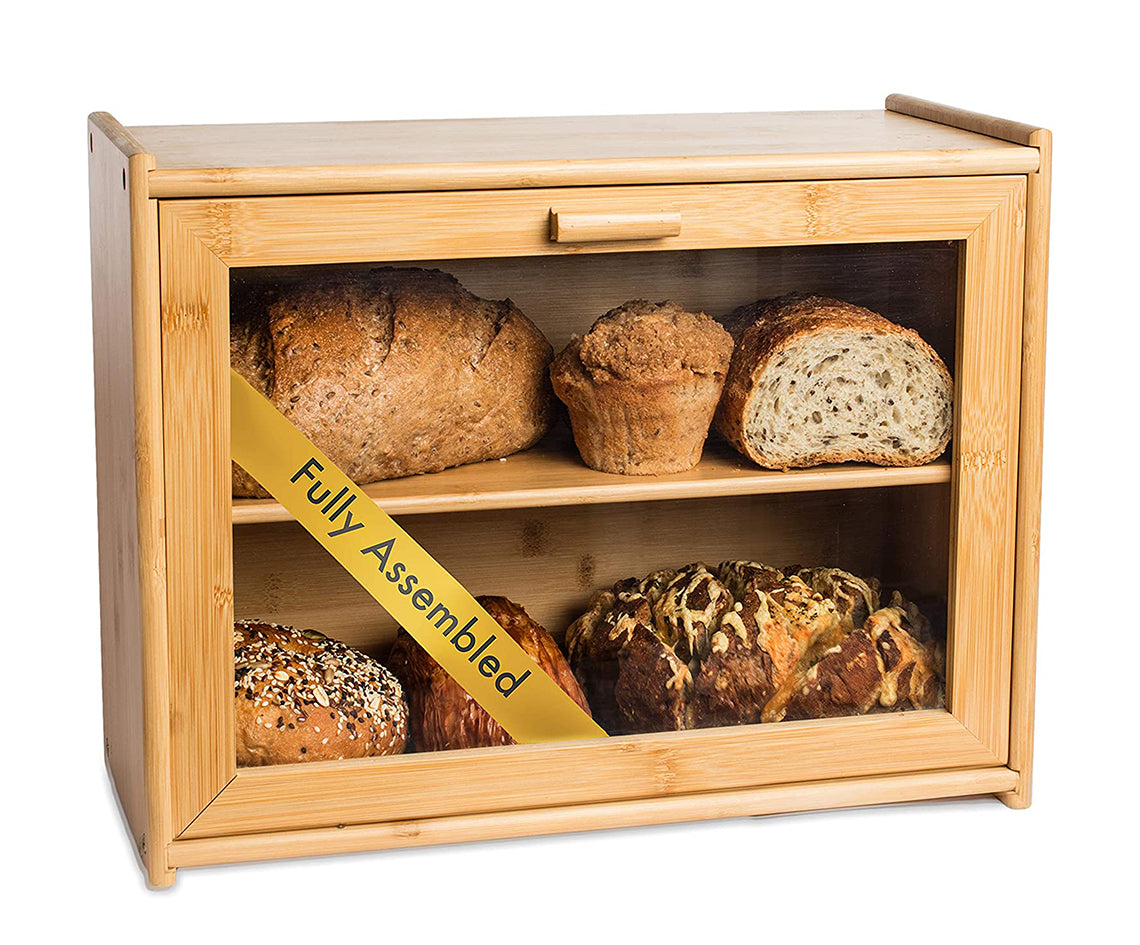
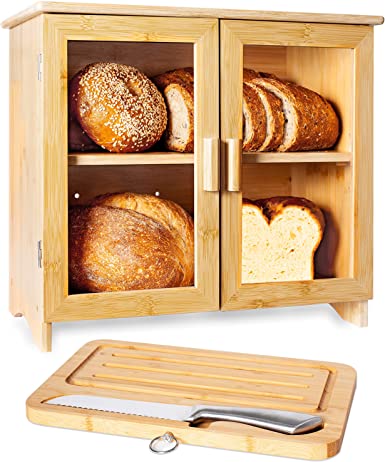
So, store it in a bread box to provide a humidified environment with good air circulation.
A large bread box is preferable since it allows for better airflow.
The GIST
Baking dairy-free bread may sound challenging, but now you know how simple it is!
Who knows, it might come out so well that one day you start your own dairy-free bread business!
Until then, check out Laura's Green Kitchen's wonderful bread box collection to store your dairy-free bread.